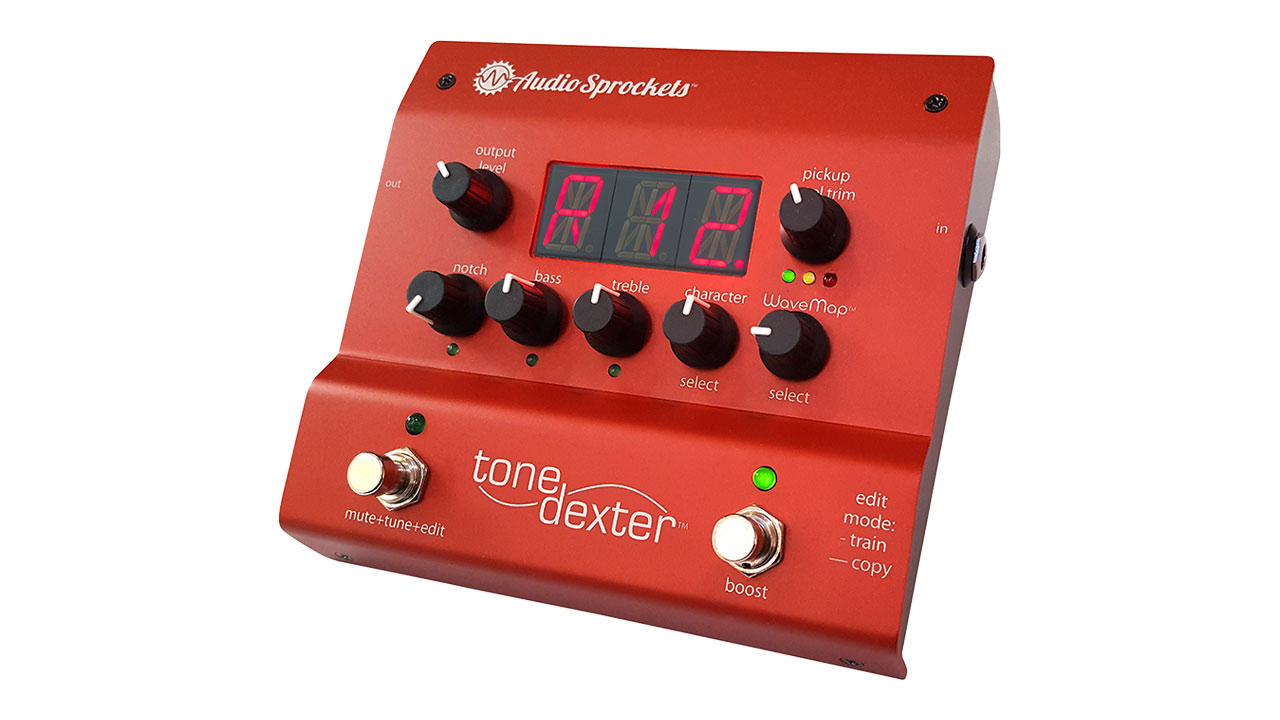
Legacy ToneDexter
Repair
Circuit Board Removal and Install
Legacy ToneDexter Circuit Board Removal and Re-Installation
These notes apply to the original ToneDexter discontinued in 2022.
To remove the ToneDexter circuit board from the unit:
- Remove knobs by pulling straight up
- Remove 4 jack bushing nuts on side and rear
- Remove 4 screws holding top in place
- Remove pot nuts
- The red top should lift off easily
- Remove 4 XLR jack mounting screws
- Back the printed circuit board out of the metal enclosure. It may be somewhat tight if the side jacks are catching a little. This should yield to gentle but firm pressure. If necessary, bend the metal sides of the chassis out a little with pressure first, to make a bit more room.
Re-Installing the ToneDexter Circuit Board
- Put the printed circuit board back into the metal enclosure. It may be somewhat tight if the side jacks are catching a little. You can tilt the board a little first to get it in between the metal sides. Then, push it back until all the jacks protrude the back panel
- Reinstall 4 XLR jack mounting screws. Snug, but not forced too tight.
- Place red top back on
- Reinstall pot nuts snug
- Reinstall 4 screws holding top in place
- Reinstall 4 jack bushing nuts on side and rear, barely snug
- Reinstall knobs by pushing straight down. EQ knob markers should be straight up, the rest should be about 7 o’clock.